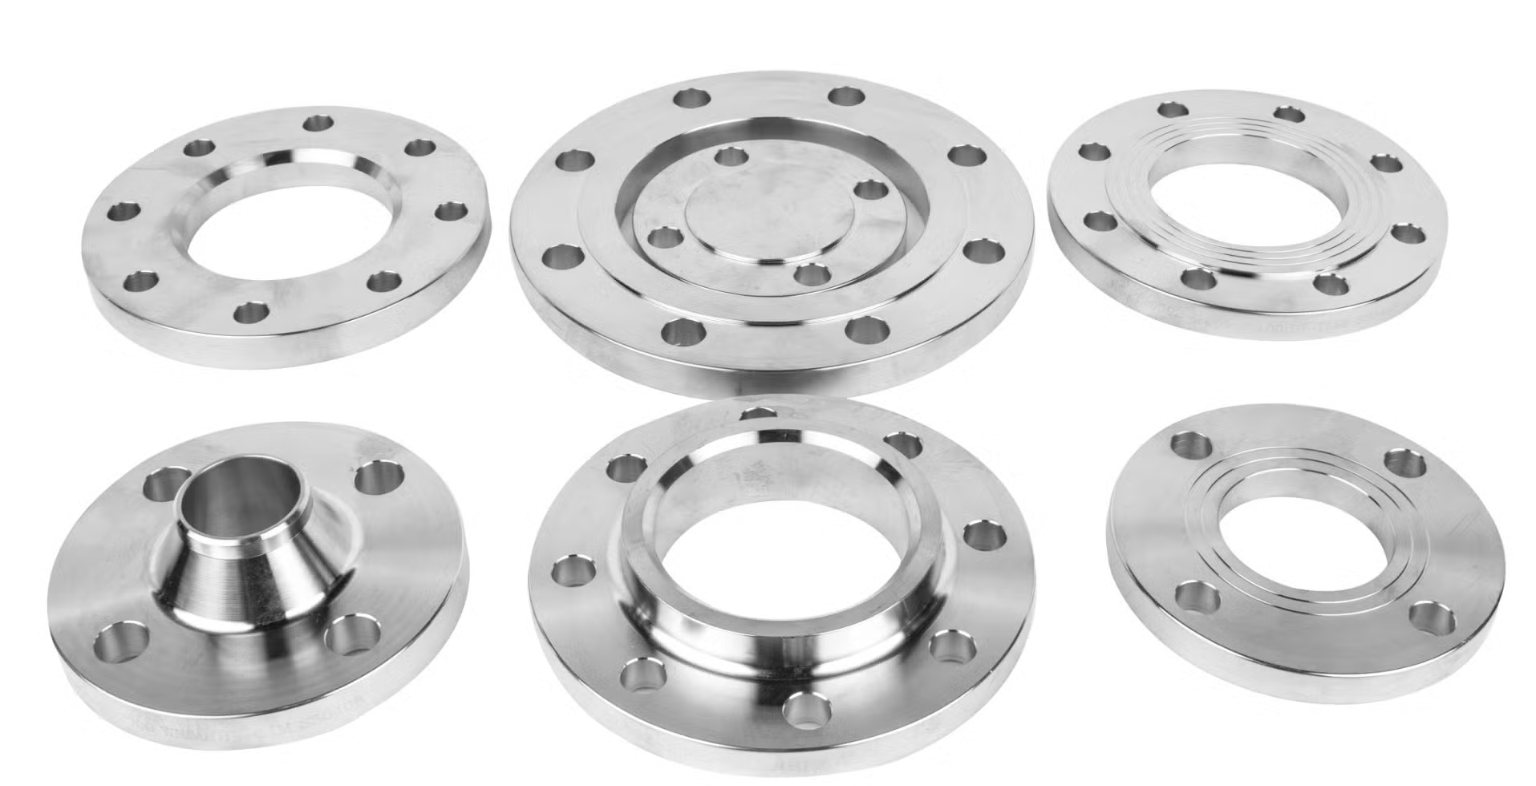
Flange alignment determines whether a piping joint holds pressure for decades or fails within months. The stainless steel 316L slip-on flange is superior to standard 304 grades in resistance to chloride attack and pitting corrosion, making it a preferred choice for chemical, marine and offshore piping. Yet even a precision flange can leak or crack if installed off-axis. This blog covers the alignment problems installers face most often, their causes, and how to prevent them.
Why Alignment Plays a Critical Role in Flange Performance
Misalignment forces the gasket to compress unevenly across its face. One side crushes past its recovery limit while the other barely seats, and the joint leaks below its rated capacity. Uneven compression also concentrates load on a handful of bolts instead of the full bolt circle. Those bolts stretch, lose preload, and shift under vibration. Over extended periods of thermal cycling, even a minor flange misalignment of 2 to 3 degrees causes fatigue cracks to form near the weld toe well before a properly aligned joint experiences wear.
Signs That a Slip-On Flange Is Improperly Aligned
A few clues surface long before a flange fails in service, and catching them early prevents a costlier repair later.
- Bolt holes on opposite sides of the flange do not line up evenly with the mating flange.
- A visible gap appears between the two flange faces on one side of the joint.
- Bolts thread in easily on one side but bind or resist on the opposite side.
- When bolts are tightened, the gasket compresses more at one edge.
- Pressure tests revealed a slow leak in one spot, rather than uniform sealing.
If any of these signs are ignored, there is a risk of failure under pressure and alignment should be corrected by the installer before the joint is installed into service.
Common Alignment Issues When Installing SS 316L Slip-On Flanges
Several distinct problems account for most alignment failures on site, from pipe preparation errors to welding sequence and bolt tightening technique.
Pipe End Not Centered Inside the Flange
When the pipe sits off center inside the bore, the weld gap varies around the circumference, producing inconsistent penetration and weak points. Installers should measure the gap at four points before tacking to confirm the pipe sits concentric.
Bolt Hole Misalignment
Bolt holes drift when flanges rotate slightly during tack welding, or when mating flanges come from batches with tolerance variation. Forcing bolts through a misaligned pattern damages threads and stresses the flange. Rotating the flange in small increments while test fitting bolts corrects the pattern.
Uneven Flange Face Contact
The flange faces must be parallel to each other within a close tolerance, or the gasket will not seat evenly and the seal will be compromised. A feeler gauge check around the circumference before tightening reveals gaps as small as 0.5 mm, identifying the problem early.
Incorrect Tack Welding Sequence
Tacking one side completely before beginning the other causes the assembly to go out of square as the weld cools and contracts. A cross pattern sequence, like that used in bolt tightening, applies shrinkage evenly.
Improper Bolt Tightening Pattern
Tightening bolts in sequential order concentrates stress on one side and can crack the gasket before full pressure is reached. A star or cross pattern, tightened in three or four passes, spreads bolt load evenly.
Thermal Distortion After Welding
Welding heat expands the flange locally, and uneven cooling pulls the face out of flat by fractions of a millimeter. Letting the joint cool fully before final bolt torque, then checking flatness with a straightedge, catches distortion early.
Ignoring Pre-Installation Checks
Skipping a check of flange dimensions, pipe squareness, and face condition lets small errors compound into a failed joint. Confirming these details in advance, paired with dimensionally accurate slip-on flanges, removes most alignment problems before installation starts.
Best Practices for Achieving Accurate Flange Alignment
Preventing misalignment costs far less than repairing a leaking joint later, and each of these checks takes only minutes.
- Use a laser alignment tool or straightedge to verify the pipe centerline before tacking.
- Check flange face parallelism with a feeler gauge at four points around the circumference.
- Confirm pipe squareness and bore fit before any welding begins.
- Tighten bolts in a cross pattern across three to four incremental passes.
- Run a hydrostatic or pneumatic pressure test before the joint enters service.
Why SS 316L Slip-On Flanges Require Precision Installation?
The molybdenum content in 316L stainless steel raises resistance to chloride-induced pitting well beyond what 304 offers, which is why offshore platforms, desalination plants, and pharmaceutical lines specify it by default. ASTM A182 SS 316L SORF flanges carry this resistance into forged fittings rated for high-pressure service. Precision installation protects that advantage, since a misaligned flange creates crevices at the gasket interface where chlorides concentrate, undermining the resistance the material was chosen for.
Conclusion
Pipe centering, bolt hole alignment, face contact, welding sequence, and bolt tightening pattern account for nearly every alignment failure on site. A correctly installed stainless steel 316L slip-on flange assembly minimizes leaks, improves operational safety, and extends the working life of the piping system. For dimensionally precise flanges and technical support on installation, contact Metal Yard.